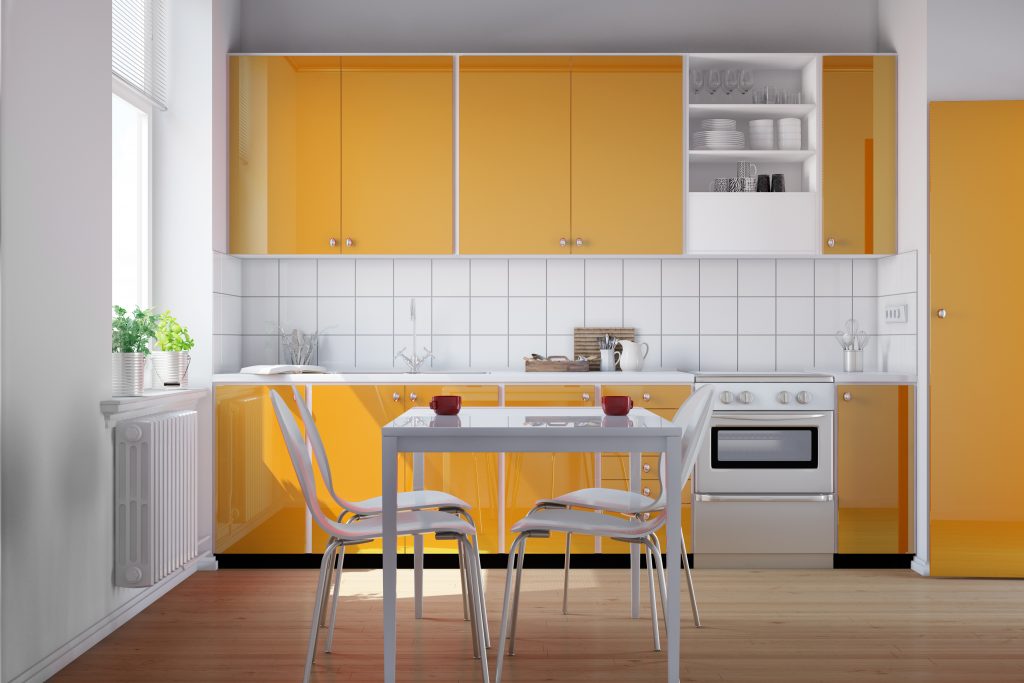
There is no other easier and arguably more cost-effective method to enhance the appearance of your kitchen than by updating your cabinets. Even more so than flooring or appliances, cabinets accentuate and command the look of an entire kitchen. In short, cabinets can make it or break it. Picking out new cabinetry, dealing with installation, and paying for labor costs requires a lot of work. Usually, an entire kitchen cabinet renovation will always exceed a few thousand dollars. Sometimes, there’s nothing you can do but replace your cabinetry if it is beyond repair. In this case, check out our article on how to select the best kitchen cabinets. However, if your cabinets are sturdy, and you like their current functionality, you can enhance their look by adding a fresh coat of paint!
Freshly painted cabinets will breathe new life into your kitchen space. We created this DIY friendly guide to teach you proper cabinetry painting techniques. In this article, you will find preparation tips to keep in mind, what tools you will need, and step-by-step instructions on how to paint kitchen cabinets.
Things to ConsiderPreparation
Before you begin unscrewing your cabinets, you need to determine whether to use a water-based or oil-based latex paint and/or primer. If your current cabinets were painted with water based latex paint, pick a new water-based paint. If you have a clear finish, either type of paint will work well. If you are just unsure, latex paint is always a safe bet. There are advantages and disadvantages between latex and oil-based products. Traditional painters believe oily paints produce a smoother and highly durable surface. A strong surface is especially important for kitchen cabinets as they see a lot of interaction and use. However, oil-based paints can give off unwanted fumes. Oil based fumes also requires special cleaning with mineralized products. Latex has improved a lot over the years. They are now seemingly odorless, even after a fresh paint. Also, they are easy to clean (just water and dish soap). Lastly, regardless of your paint choice, you have to decide on the type of gloss you prefer. There is dull or no gloss at all, however, many homeowners like semi-gloss or glossy. The choice is up to you! It’s important to keep in mind that the duller the gloss selection, the easier it is to clean.
REQUIRED ITEMS AND TOOLS
Before you begin unscrewing your cabinets, you need to determine whether to use a water-based or oil-based latex paint and/or primer. If your current cabinets were painted with water based latex paint, pick a new water-based paint. If you have a clear finish, either type of paint will work well. If you are just unsure, latex paint is always a safe bet. There are advantages and disadvantages between latex and oil-based products. Traditional painters believe oily paints produce a smoother and highly durable surface. A strong surface is especially important for kitchen cabinets as they see a lot of interaction and use. However, oil-based paints can give off unwanted fumes. Oil based fumes also requires special cleaning with mineralized products. Latex has improved a lot over the years. They are now seemingly odorless, even after a fresh paint. Also, they are easy to clean (just water and dish soap). Lastly, regardless of your paint choice, you have to decide on the type of gloss you prefer. There is dull or no gloss at all, however, many homeowners like semi-gloss or glossy. The choice is up to you! It’s important to keep in mind that the duller the gloss selection, the easier it is to clean.
Supplies Needed
- Paint
- Primer
- Vacuum
- Tack Cloth
- Screw Driver
- Sanding Block
- Painter’s Bucket
- 120 grit sandpaper
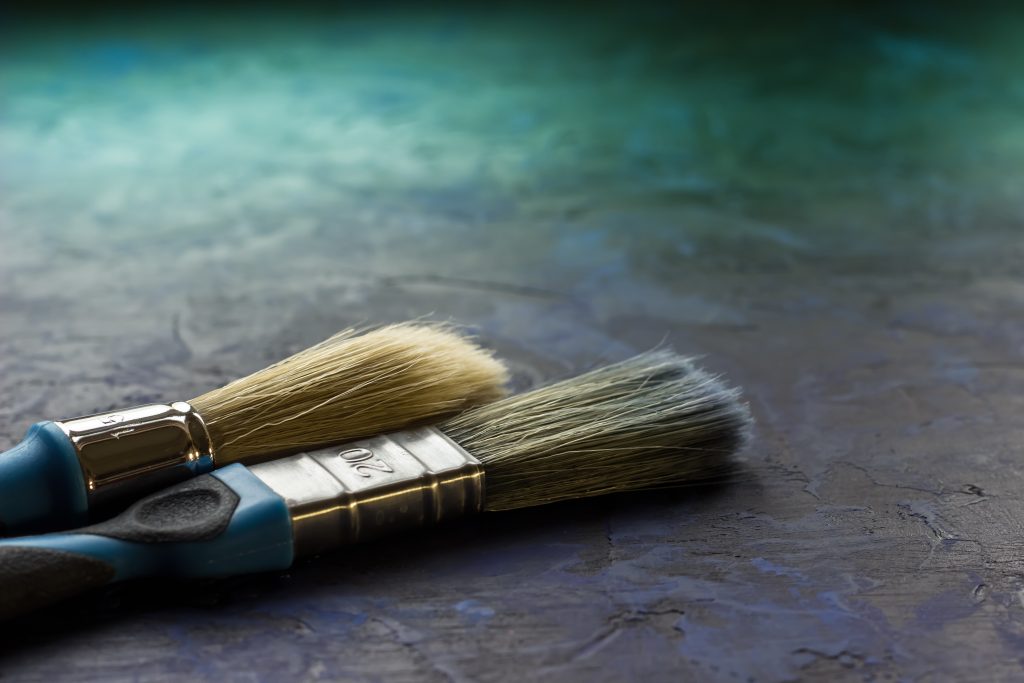
- Two-inch tapered paintbrush
A Word of Advice
While painting your kitchen cabinets can seem like a straightforward tasks, there are a lot of little things to consider during this process. For some, it may be out of your comfort zone to correctly complete the entire task. This task may not be suitable for every homeowner to take on. If you aren’t the most handy individual, lack the appropriate amount of time, or just want to avoid costly mistakes—hire a professional handyman or contractor! It’s not worth it to end up with an unpleasant finished product.
The 7 Step DIY Cabinet Painting guide
Step #1Removal of Screws
Remove all your cabinetry first! The first step is to unscrew all the hinges from the doors, cabinets, and pull/knobs. For each hinge, remove the single screw attaching it to your cabinet frame and the two other screws attached to the door. Some newer cabinets have cup hinges,these will have two extra screws that allow the door position to be adjusted after it is installed. If you have cup hinges, don’t do anything to these two additional screws.
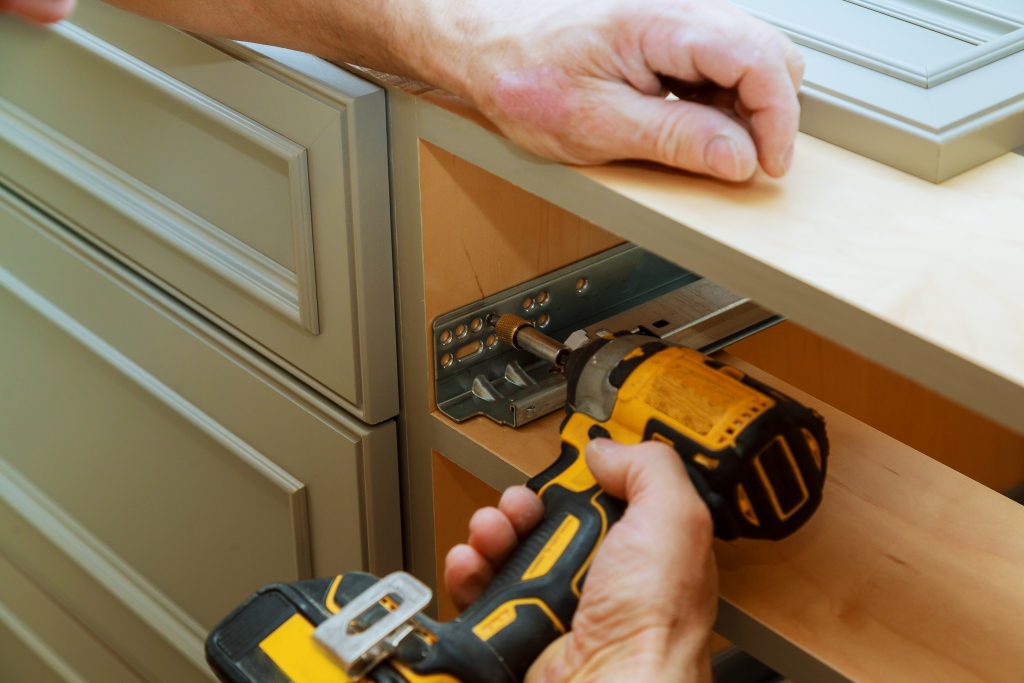
Step #2Removal of drawer faces
Now it is time to remove all your cabinet and drawer faces! You cannot paint all of the parts of you cabinetry while they are on the wall. You are going to need to paint these different pieces seperately. Some cabinets have drawer faces that are screwed from the inside of the drawer boxes. If this is your case, then remove the faces and then unscrew the drawer boxes.

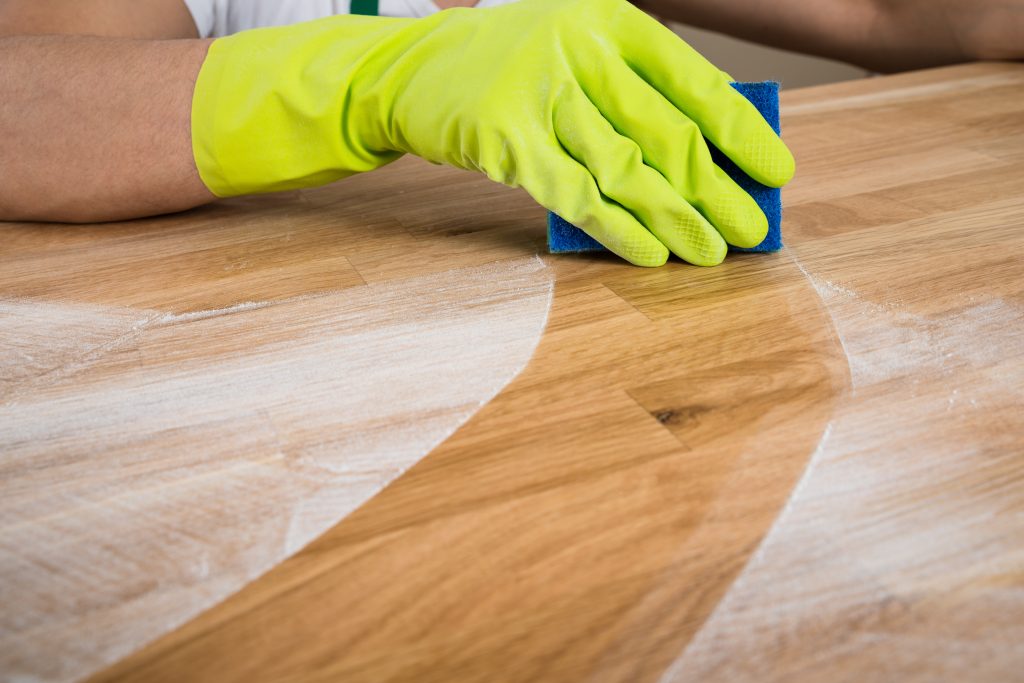
Step #3Clean Surfaces
Cooking, hand oils, and whatever else enters your kitchen creates a cabinet surface that is greasy and dirty. A greasy cabinet will not hold paint and primers well. Trisodium phosphate (TSP), found in most home goods stores, will take the grease right off! Read the packaging, mix with warm water, and apply with a sponge to remove cabinets to clean. Once cleaned, wipe down with warm water. Repeat this process to all your cabinetry you wish to be painted. Any surfaces that you intend to paint should be properly cleaned. Wherever your workspace may be—cover the floors, countertops, and other valuables with taped down newspaper or rosin paper.
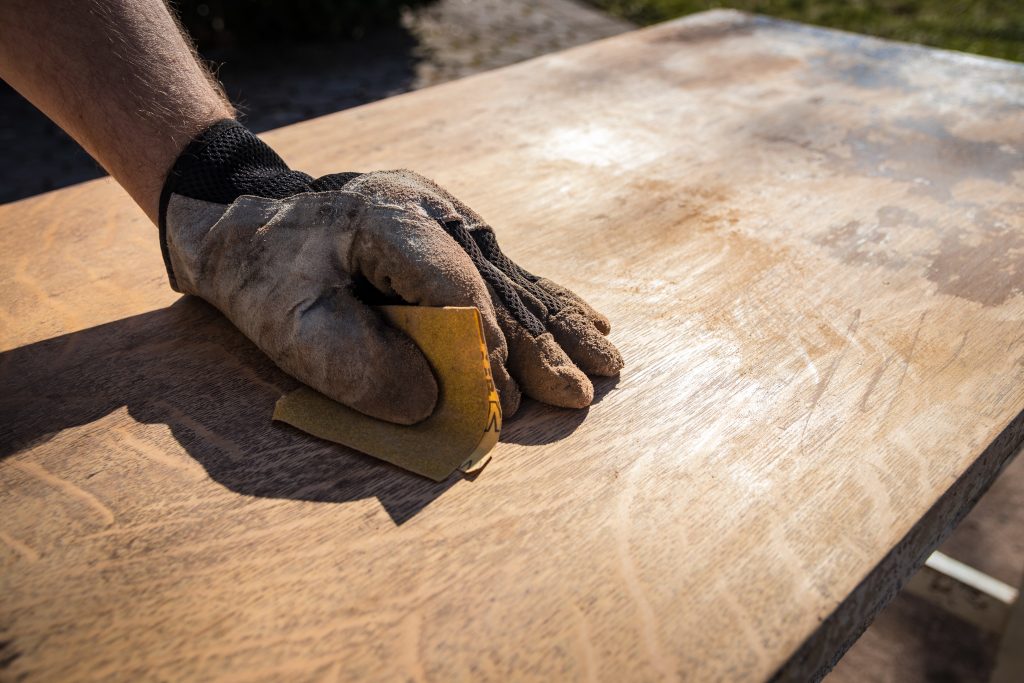
Step #4Sand surfaces
Sanding dulls the surfaces so the primer will adhere well to your cabinets. With your #120 sandpaper and sanding block, sand down the flat areas of your cabinets. For the corners or rounded parts, use a small piece of sandpaper. Once the sanding process is complete, vacuum the surfaces and wipe down with a tack cloth (which is naturally sticky) to remove any remaining dust particles.
Step #5Prime (or Paint) Door and Drawer Fronts
Lay down your dismantled door and drawer fronts on an elevated surface, not a flat table. A raised surface will prevent your cabinetry from being stuck to the covering protecting your surfaces. Start with priming! The process for priming and painting is almost exactly the same, just be sure to spend a little more time and physical effort working your primer into the cabinets. When painting, you want to paint in long, even brush strokes. Start from one side and prime or paint with long overlapping strokes from top to bottom. It’s crucial to begin from the top with the raised panels first, so in case paint drips downward you can just paint over it. Work outward, then inwards. Start with the frame and evenly work your way toward the middle. When the prime or paint completely dries, flip it over and begin the process again.
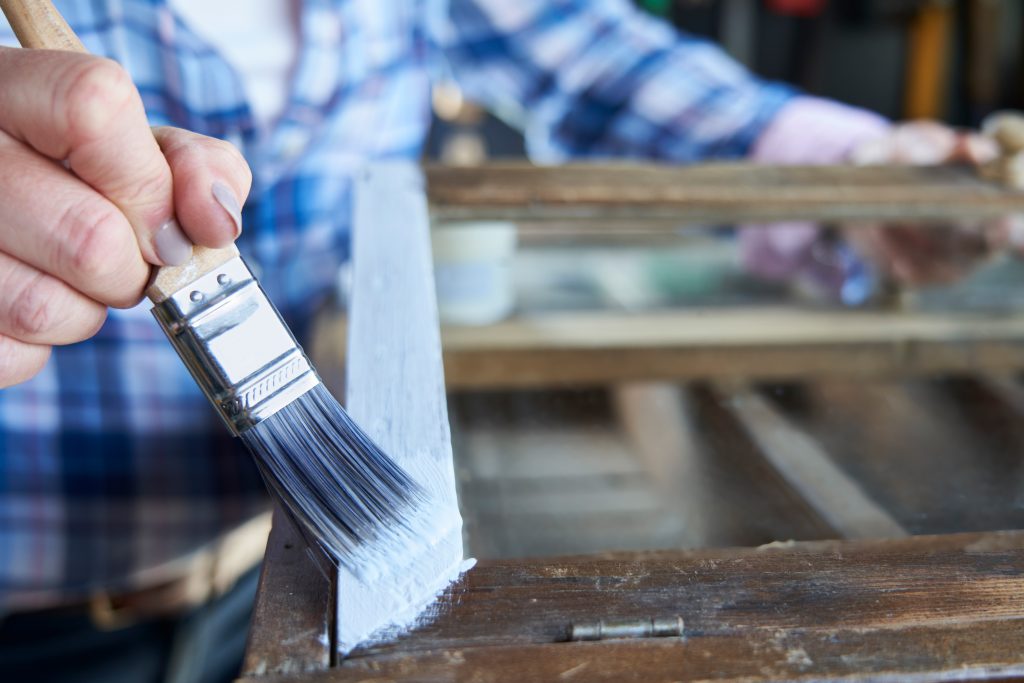
Step #6PRIME (OR PAINT) THE CABINETS
Now it’s time to be precise! You can’t rip off the cabinets off your wall, so you have to work with where they are. Use painter’s tape to mask off joining kitchen wall and cabinet surface. The painters tape is meant to be used where the ‘cut in’ is, where the cabinets meet the wall, floor, ceiling, etc. Make sure to squeeze the painters brush in between the gap where your cabinets are, it will help prevent unwanted paint from discoloring your wall. (Repeat with the insides of your cabinet, in place you do not want to paint.) Now pick up your tapered brush. Dip your brush into the primer or paint and place it where the ‘cut in’ is at the top of your cabinetry. Bring it down along the wall, from top to bottom. Continue along the entirety of your cabinets.

Step #7APPLY TWO LAYERS OF PAINT!
Once you have primed all of the surfaces, now it is time to paint! Make sure your primer is dry. Paint over all your primed surfaces. Paint takes approximately four hours to dry, then apply a second coat. Repeat the process on all your disassembled cabinets. Once everything has dried, reinstall your doors and drawers. Voilà! Enjoy your newly painted cabinets and be proud of your hard work!
Achieve the cabinets of your dreams todayCONNECTING YOU WITH LOCAL SERVICE PROFESSIONALS YOU CAN TRUST!
PoweredByPros is a leading digital home services marketplace. We match homeowners from across the nation with screened remodel and repair professionals they can trust to successfully complete any type of home improvement or renovation project. For over a decade, homeowners have trusted us with providing them professional and quality services for their property. In order for us to connect you with a painting expert in your area, our highly skilled customer service team will contact you to gather all your project information and pay special attention to your design and amenity requests. We make planning, budgeting, and hiring a local kitchen and painting contractor easy and free! Save time and money, get started today!